
Want to take better photos indoors? Start by paying attention to something your eyes handle so naturally you may not even notice: the light.
Have you ever taken a photo indoors that looked perfectly fine while you were taking it, only to discover later that it was blurry, grainy, or strangely dark?
Indoor photography can be tricky. Our eyes adjust beautifully when we walk from bright sunlight into a dim room, but our cameras need a little more help.
And this time of year, we’ll spend a lot more time taking photos indoors. Birthday parties, school performances, museums, restaurants, family gatherings. And before we know it, the holidays will be here.
The good news? You don’t necessarily need more equipment to take better photos indoors. You just need to start noticing the light.
1. Find the Best Light to Take Better Photos Indoors
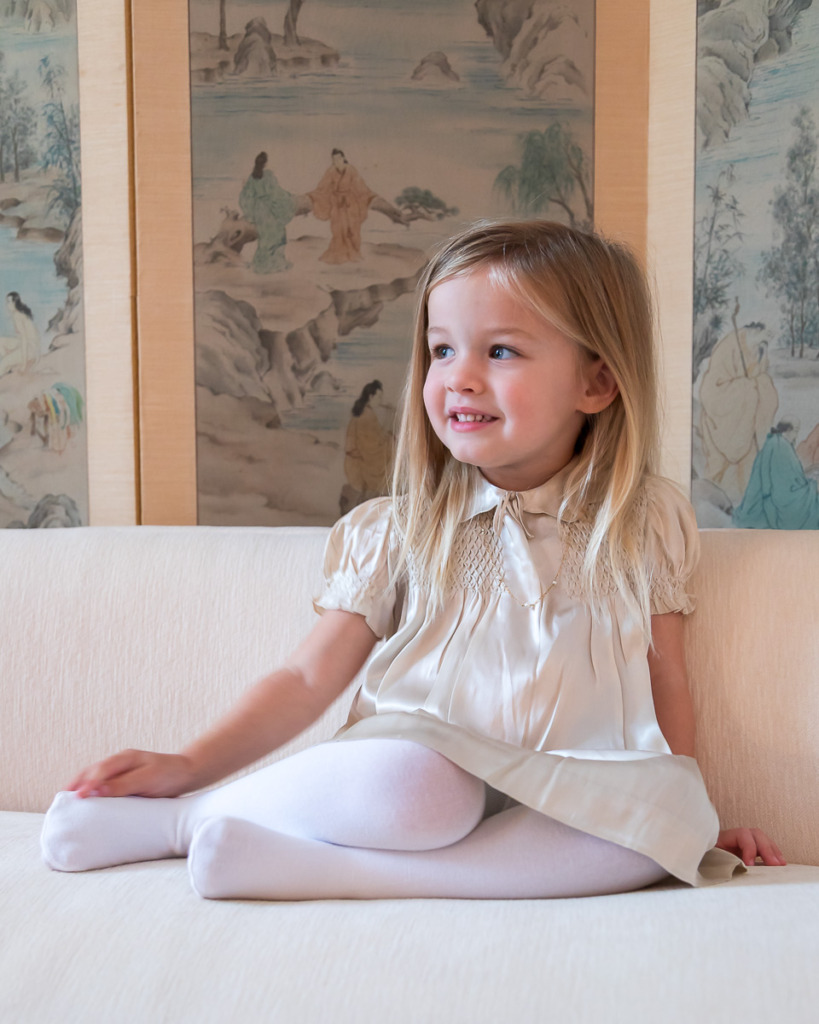
Before you take the photo, look around. Is there a window nearby? An open doorway? A brighter part of the room?
One of the easiest ways to take better photos indoors is simply to move toward the best available light. Window light can be absolutely beautiful for portraits. Instead of taking the photo wherever your subject happens to be standing, see if you can move them, or yourself, closer to the light.
I shot this photo of my granddaughter indoors on a bright afternoon. By having her look towards the window, her face was beautifully lit. No flash was needed! (She’s wearing a dress that was mine when I was a toddler. I’m continuing the tradition of photos taken in this dress. First me, then my daughter, and now my granddaughter.)
And don’t forget: you can move! Sometimes taking three steps to the side makes a bigger difference than changing anything on your camera.
2. Watch the Direction of Light
But finding the light is only half the battle. Now you need to notice its direction.
If you’re photographing someone standing in front of a bright window and facing into the room, your camera sees all that light behind them and may make their face too dark. So try turning them so the window is beside them or slightly in front of them instead. You’ll often get softer, more flattering light on their face. A good place for you to stand is with the light coming from behind you or from the side.
Can you tell where the window was in this scene?
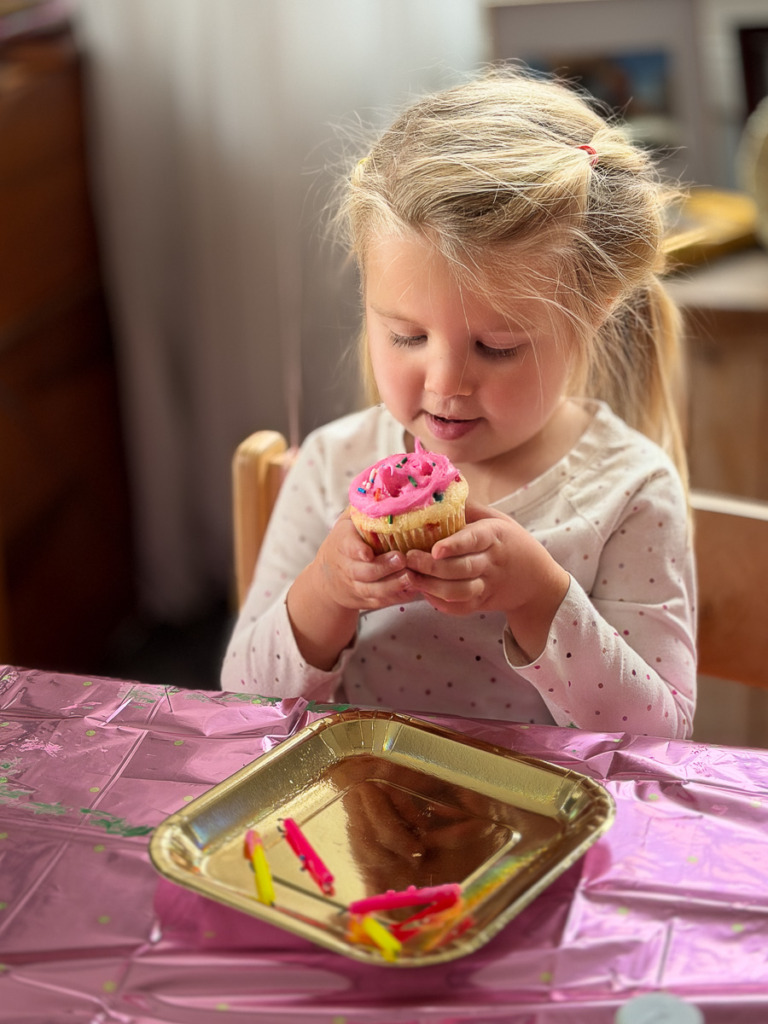
This works whether you’re using an iPhone, a DSLR, or a mirrorless camera. Learning to notice where the light is coming from is one of the simplest ways to take better photos indoors, no matter which camera you’re using.
The photo below was pure luck! I was in Cotacachi, Ecuador, on a photography trip. We were eating in a primitive hut with the only light coming from an open door. Suddenly, a beam of sunlight came through a hole in the roof and lit my friend’s white soup bowl. I reached for my DSLR, focused and shot. And then the sunbeam was gone. I was the only person in the group who got a photo!
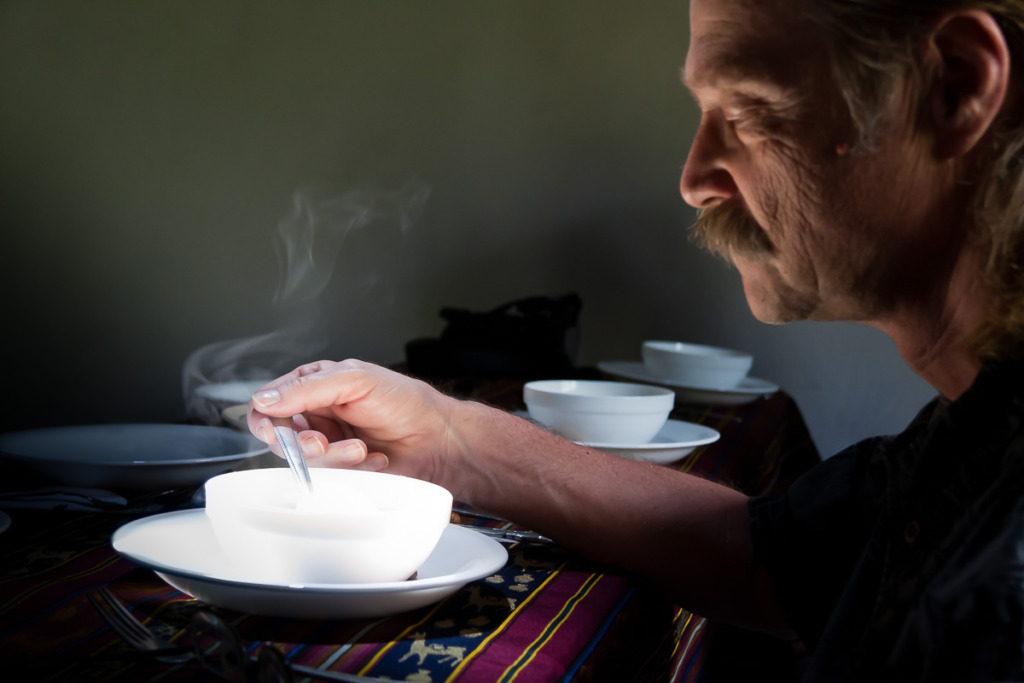
So, before you take the picture, ask yourself one simple question: Where is the light coming from?
That little habit can make an enormous difference in your photos.
3. Understand Why Indoor Photos Get Blurry
Here’s where things get interesting. When there isn’t enough light, your camera has to compensate somehow.
Shooting in Auto Mode, it may try to fire the flash, but on-camera flashes create notoriously bad light. If you’re shooting with a DSLR or mirrorless camera, switch to Program Mode. That one step prevents the flash from going off automatically. You can read more about Program Mode and how to use it in this post.
When you’re shooting with an iPhone, you can turn the flash off!
But now your camera may choose a slower shutter speed to gather more light. And that comes with a catch. If your shutter stays open longer, anything that moves while it’s open can become blurry.
That’s why the photos from the school play, gymnastics meet, birthday party, or your dog racing across the living room may be blurry even though they looked fine when you pressed the shutter button.
Understanding why this happens is an important step when you’re learning to take better photos indoors. Your camera wasn’t doing anything wrong. It simply needed more light.
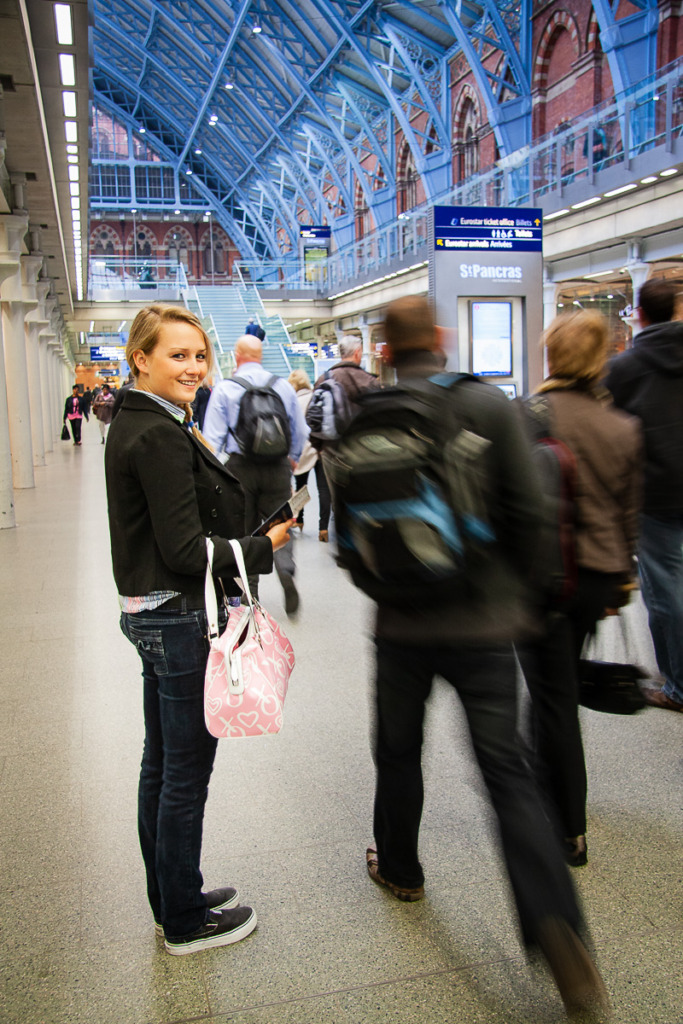
If you’re using a DSLR or mirrorless camera, this is where learning to control shutter speed and ISO becomes incredibly useful. A faster shutter speed can help freeze movement, while a higher ISO can make your camera more sensitive to the available light.
I shot the photo above with my Canon DSLR, hand-held. I set the ISO to 800 and the Aperture to f/4.0 to let in as much light as possible. Then, I told my daughter to stand as still as possible. And I shot it at 1/15th of a second. That let me capture the blur of people rushing by. (Hint: to hand-hold at that shutter speed, I used the timer, took a deep breath, pressed the shutter button, and held my breath!)
You don’t have to master all of that today. I just want you to begin recognizing what’s happening. Because once you understand why your camera is giving you a blurry photo, you can learn how to fix it.
Want to Take Better Photos Indoors? Move Beyond Auto Mode
This is exactly why I teach my Camera Mechanics Workshop.
Auto Mode is wonderfully convenient, until it makes a decision you don’t want. Learning how to use Program, Aperture, Shutter and Manual Modes gives you more control over those decisions. And once you understand what your camera is doing, all those buttons and settings stop feeling nearly so mysterious.
Photography really does get easier (and more fun!) when you understand your camera.
Now It’s Your Turn
This week, experiment with indoor light. Choose a person, pet, favorite object, or even your morning cup of coffee as your model and take photos in a few different places around your home.
Move closer to a window. Turn your subject toward the light. Try photographing the same thing in a darker part of the room. Then compare the images. Look for the effect that the light has on the photos. Which do you like better?
If you want to take better photos indoors, don’t worry about creating a masterpiece. Just notice what the light does.
That’s one of the best ways to become a better photographer: slow down, experiment, and start seeing what your camera sees.
If you’re shooting your indoor images with an iPhone, here’s the iPhone tripod I use and recommend. (I’m an Amazon Associate. I may earn a small commission if you click and buy. Thanks for the support!)
And if you want to understand your iPhone camera settings without spending hours on YouTube, here’s a link to my iPhone Photography Made Easy.

You might also like

Leave a reply