Looking for better iPhone composition tips? You’ve probably heard one of the most common rules in photography: fill the frame. It’s good advice. If you’re photographing a person, don’t leave a huge empty sky above their head. If you’re photographing a flower, move in close enough that the flower becomes the star of the photo.
But after spending months creating my new iPhone Photography Made Easy program, I discovered one small exception that can save you a lot of frustration. When you’re using an iPhone, leaving just a little extra room around your subject gives you more flexibility when it’s time to edit your photo later.
iPhone Composition Tips: Fill the Frame… But Not Too Much

One of the easiest ways to improve your photos is to get closer to your subject. Instead of photographing someone from across the yard, take a few steps forward. Instead of photographing a flower surrounded by distractions, move in so the flower becomes the center of attention.
Filling the frame helps your viewer immediately see what the photo is about and it’s a key iPhone composition tip. It’s a simple change that can make almost any photo stronger.
But here’s the key: don’t let your subject get too close to the edge of the frame.
I captured this flower near a waterfall in Iceland. By getting close but leaving a little room around it, I’ve given myself options. It’s a Live Photo, which means I can save it as a 3-second video. Better yet, because the wind was really blowing and this flower was moving fast, I can use additional software and make that video slow motion.
But why does it help that I left that additional room? Converting a Live Photo to a video will crop the photo slightly. Leaving the room prevents the conversion from cropping off part of the flower.
Why This iPhone Composition Tip Matters
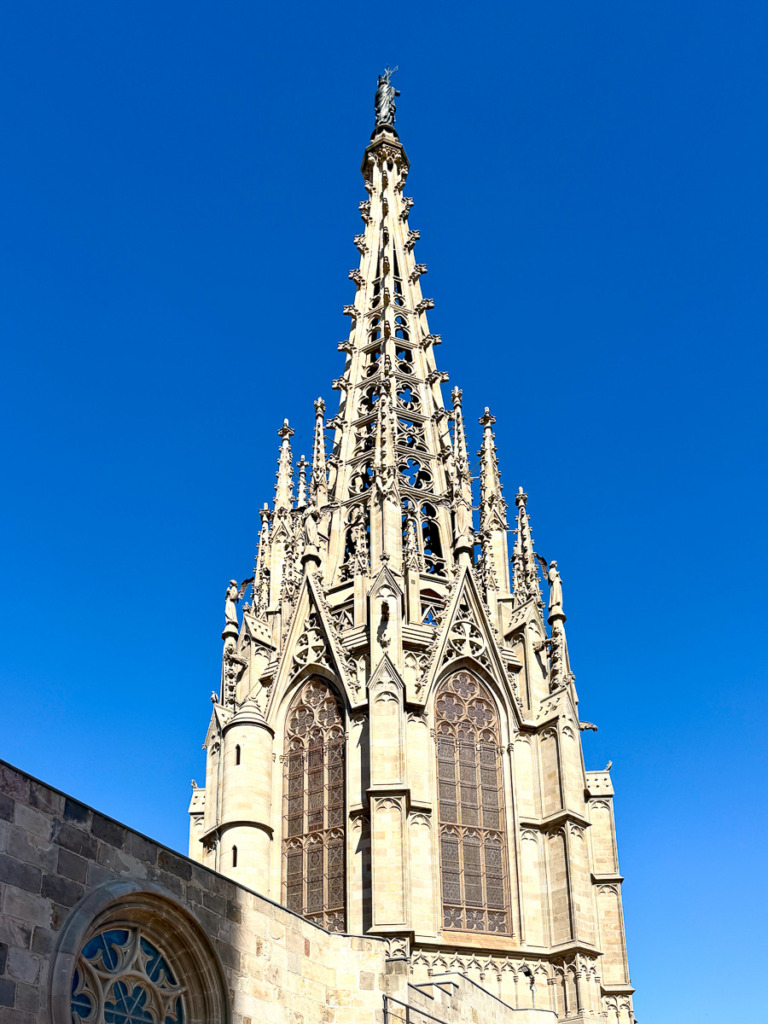
This is a photo of a spire of the Barcelona Cathedral, taken by a very timid me… on the roof! 😳 I edited it in the Photos app. You can see the photo before editing below.
When you edit photos in the Photos app, some editing tools slightly crop your image. Straightening a crooked horizon, correcting perspective, or applying certain edits can trim away a little from the edges. That’s why this iPhone composition tip is so important.
Most of the time, you’ll never notice.
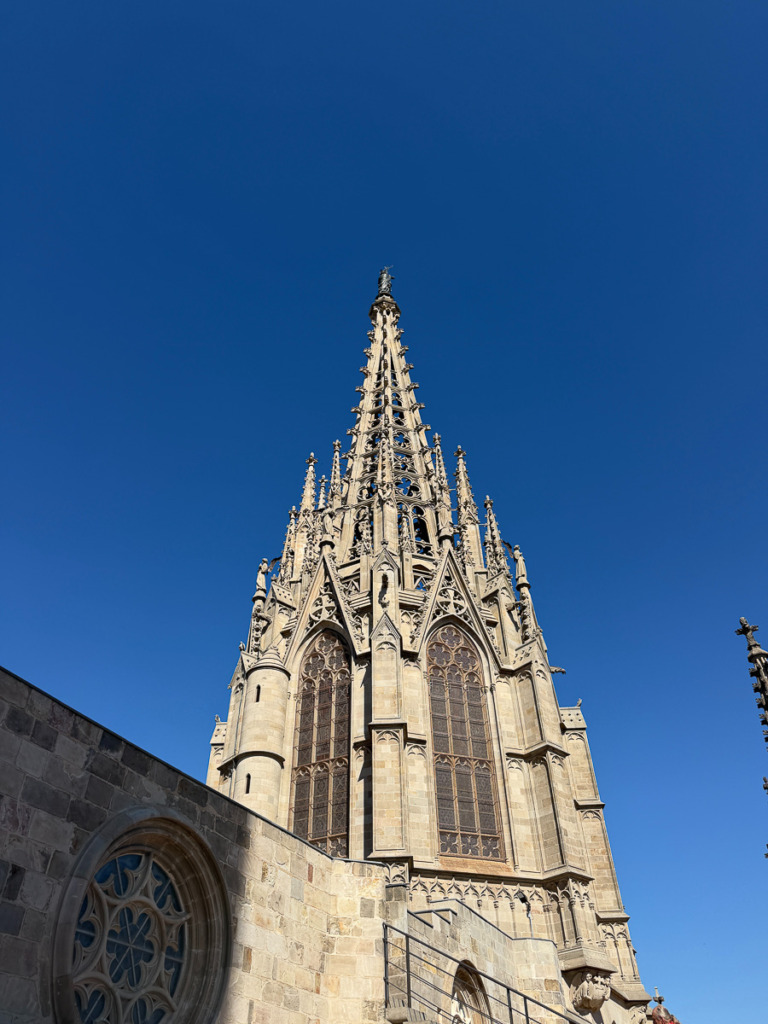
But if you carefully composed a lighthouse, church steeple, mountain peak, or beautiful building so it fit perfectly in your frame, you may discover that after editing, part has been cropped off. As you can see, I left a lot of room above the spire in this photo. And I ended up using all of it as I corrected the perspective in the Photos app.
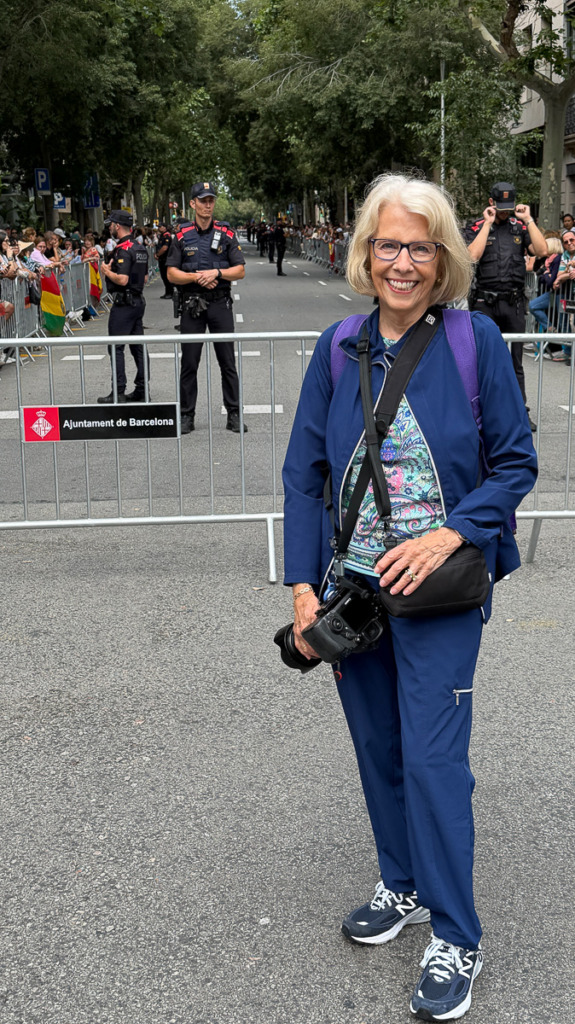
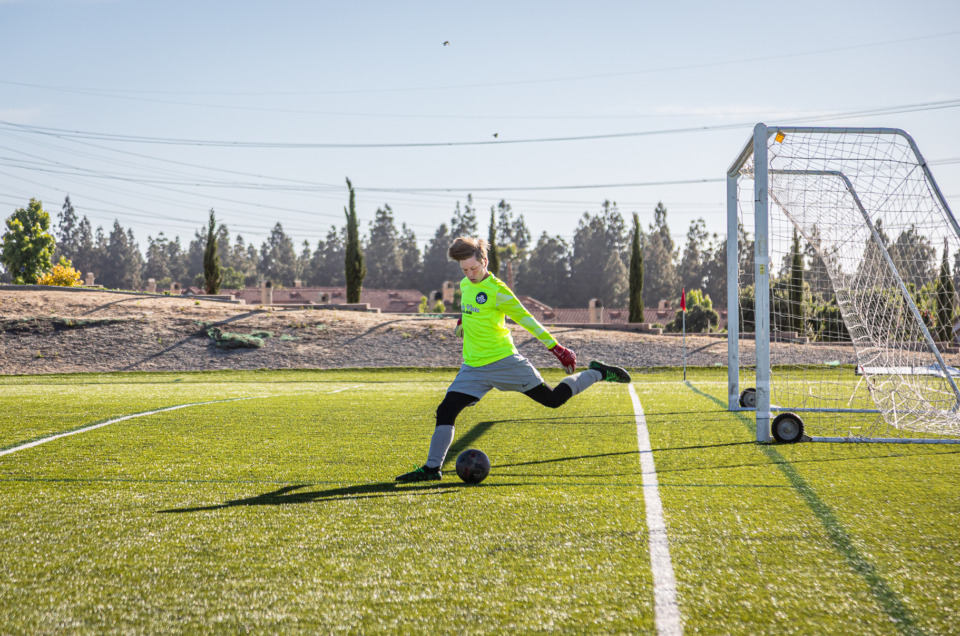
The same thing can happen with portraits if someone’s feet or the top of their head are already close to the edge. Turning this live photo into a video would crop off my feet… (By the way, I’m standing in Barcelona on the street where the Pope will ride in his Pope Mobile in a few hours. There were a whole lot of police guarding that street!)
Leave Yourself a Little Breathing Room
My solution is simple.
Instead of composing right to the edge of the frame, leave yourself a little breathing room around important details.
I’m not talking about leaving lots of empty space. You still want your subject to fill most of the image. Just leave enough extra room that your edits won’t accidentally crop away something important.
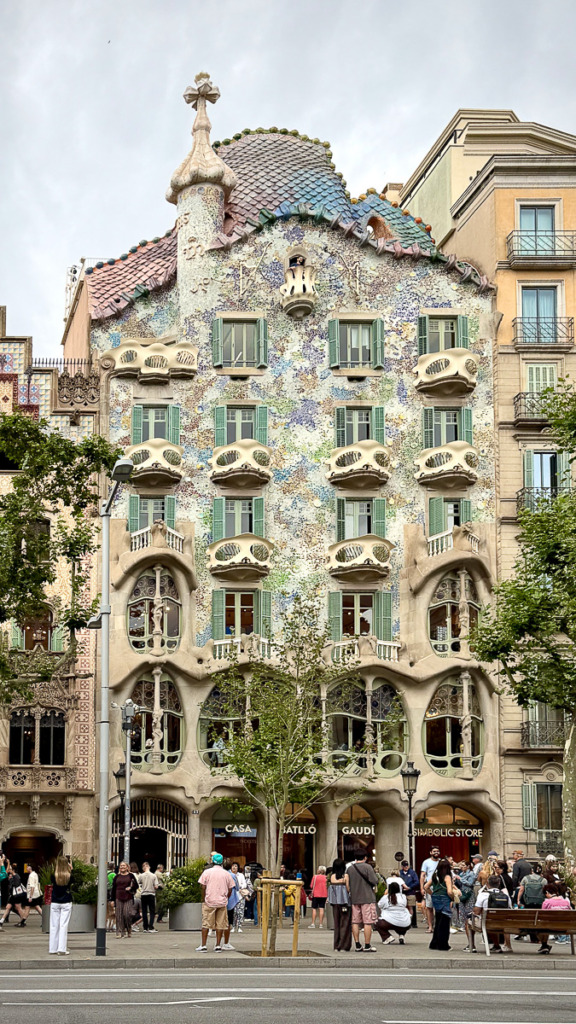
Leaving that room allowed me to straighten and correct the perspective of this photo of a home (a rather grand one!) in Barcelona that was designed by Gaudi.
Think of it as giving your future self a little flexibility. 😃
My Rule of Thumb
I still want my subject to fill most of the frame. I simply avoid placing important details right against the edge of the photo.
That small change gives me much more freedom when I edit. If I decide to straighten the horizon, adjust the perspective, or crop slightly, I know I have room to work.
You can always crop a little tighter later. It’s much harder to put the top of a lighthouse back once it’s been cropped away! 😎
And what about the photo at the top? That was taken of waterfalls in Iceland from a moving bus and is a Live Photo. I’ll be able to turn it into a video if I want!
Now It’s Your Turn
The next time you’re out with your iPhone, try this simple exercise.
Find a building, statue, flower, or even a friend willing to pose for you. Compose your photo so your subject fills most of the frame, but leave a little breathing room around the edges.
Then open the photo in the Photos app and make a few edits. Straighten the horizon, or adjust the perspective if needed.
Did that extra space come in handy?
If you shot a Live Photo, try converting it to a Long Exposure, Bounce or Loop. Did you notice how much the Photos app’s conversion cropped your photo? Did you allow enough room to save your subject?
Once you start paying attention to this simple iPhone composition tip, you’ll probably find yourself using it all the time. It’s one of those small habits that can make editing easier and help you avoid accidentally cutting off an important part of your photo.
I’d love to hear how it works for you! Leave a comment below and tell me what you photographed.
Want more simple tips that make a big difference? iPhone Photography Made Easy is designed to help you stop guessing and start taking photos you’ll be excited to share. You’ll discover camera features, simple editing techniques, and creative ideas that save you time and help you get better photos faster with the camera already in your pocket! Click here to learn more about iPhone Photography Made Easy.

You might also like