Have you ever wondered how to blur the background on your iPhone photos and make your subject stand out?
A blurred background is one of the easiest ways to create more professional-looking photos. Whether you’re photographing people, pets, flowers, food, or travel moments, learning how to blur the background on your iPhone can help draw attention to the most important part of the image.
The good news is that your iPhone camera has several simple ways to create this effect, and here are four of my favorites.
1. Use Portrait Mode to Blur the Background on Your iPhone
The quickest way to blur the background on your iPhone is to switch to Portrait Mode.
Open the Camera app and swipe to Portrait. Then:
- Place some distance between your subject and the background.
- Tap on your subject.
- Take the photo.
The farther the background is from your subject, the more blur you’ll see.
I often use Portrait Mode for flowers, family photos, and travel details because it immediately draws attention to the most important part of the image.
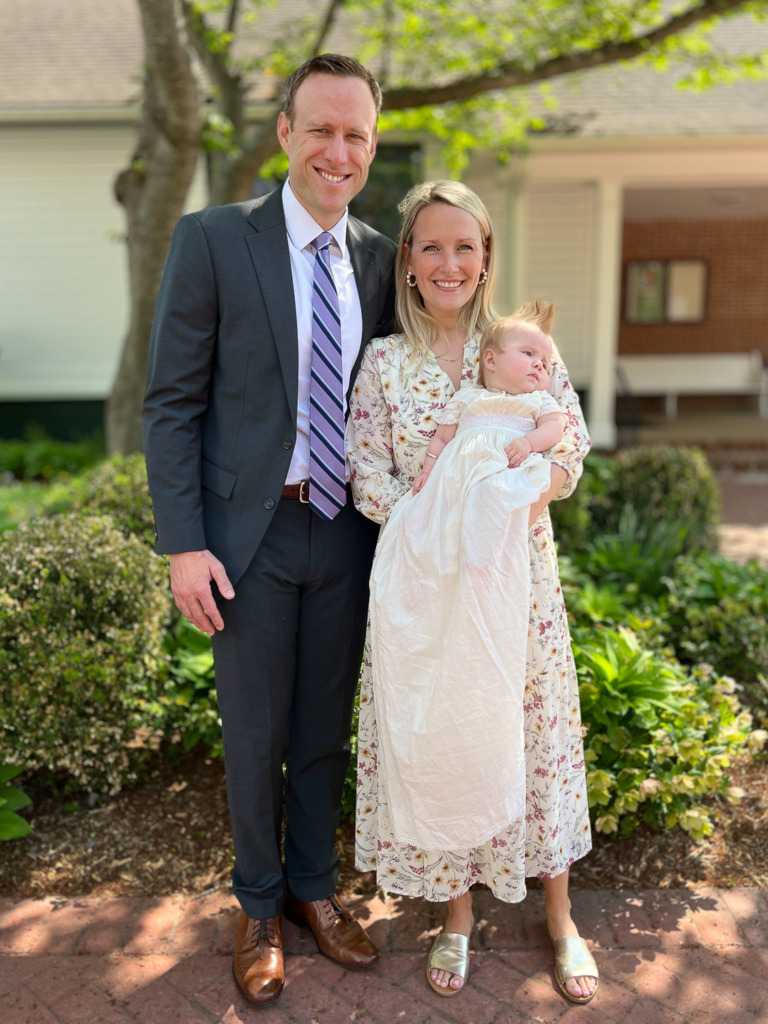
One of my favorite examples is the family portrait above. I captured it after my granddaughter’s christening. The soft background keeps your attention right where it belongs… on the people.
And a personal note… These photos are important, and not just as beautiful memories. They help carry family history forward.
The gown my granddaughter is wearing has been in my family since the late 1800s.
I know that my father wore it. I was the only person in my generation who did. All my children wore it.
Most of my grandchildren have also worn it.
I had it restored by a specialist along the way to reinforce the thin fabric.
The photos I’ve taken (plus the one of my father in it!) help create the history. 😍
Meanwhile, back to photography…
Another bonus? You can adjust the amount of blur afterward. Open the photo, tap Edit, and use the f-number slider to increase or decrease the effect.
2. Let Your iPhone Blur the Background Automatically
If you have a newer iPhone, you may not need Portrait Mode at all.
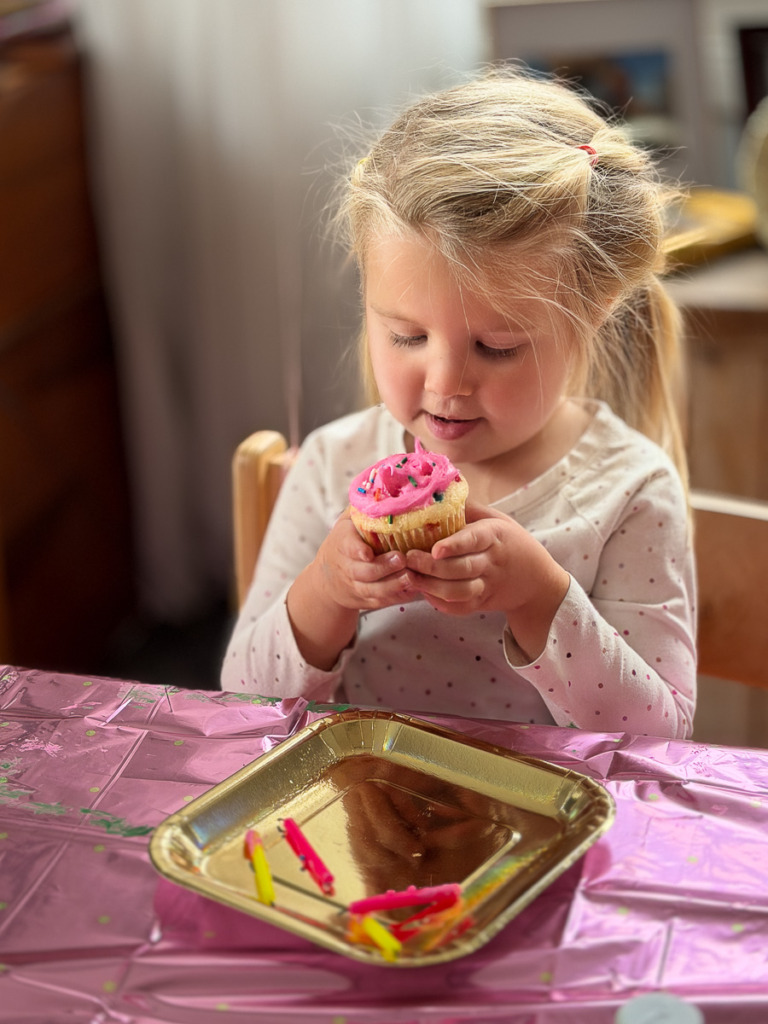
When your iPhone recognizes a person, dog, or cat, it often automatically saves depth information, even when shooting in regular Photo mode.
That means you can decide later whether you want a blurred background.
This is especially helpful when photographing children or pets who never seem to stay still long enough for Portrait Mode! 😉
I’ve used this feature many times with my grandchildren. A quick photo captured in the moment can later be transformed into a portrait with a beautifully blurred background!
And, yes, this is the baby in the christening photo. 😍 Be sure to take those photos!!! Time passes so fast with children!
3. Tap to Focus and Blur the Background on Your iPhone
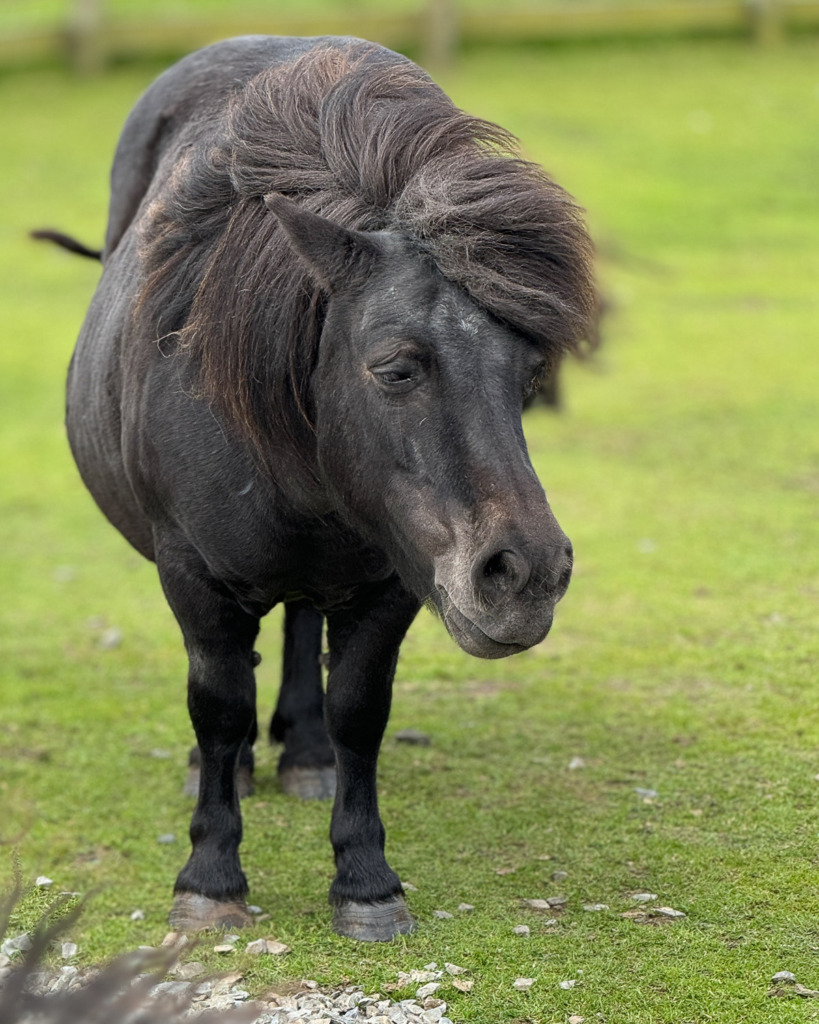
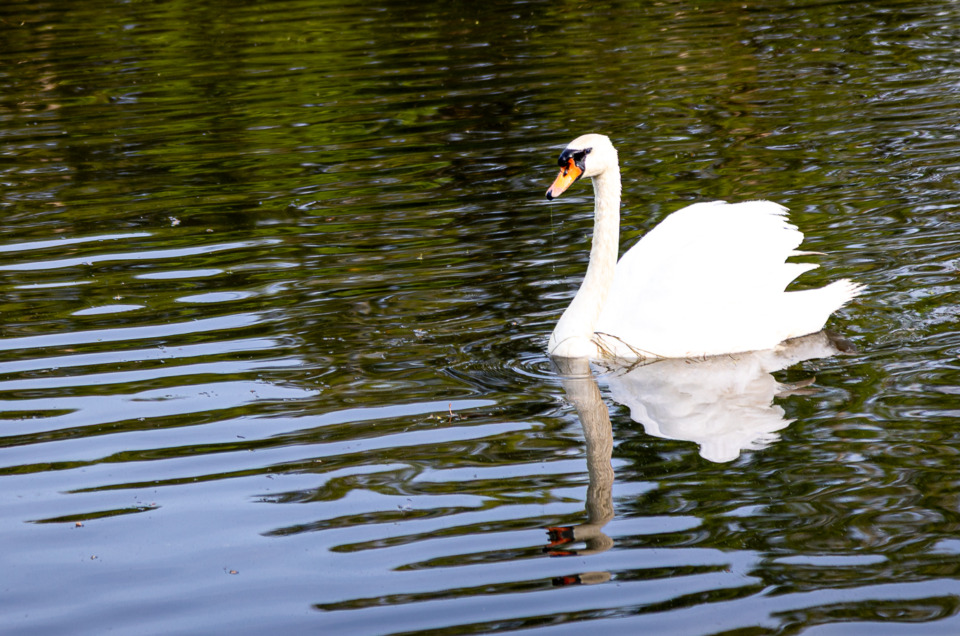
When photographing flowers, food, wildlife, or travel details, tap on the subject before taking the photo.
This simple step can help your iPhone capture the information it needs to create background blur later.
I discovered this while photographing a Shetland pony on a windy day in Scotland. By tapping on the pony’s face before taking the photo, I was later able to add background blur in the Photos app and make him stand out from the landscape behind him.
It’s a small step that can make a big difference!
4. Use Distance to Blur the Background on Your iPhone
This technique works with almost any camera—including your iPhone.
To create more blur:
- Move closer to your subject.
- Keep the background farther away.
- Tap to focus on your subject.
- Take the photo.
That’s it.
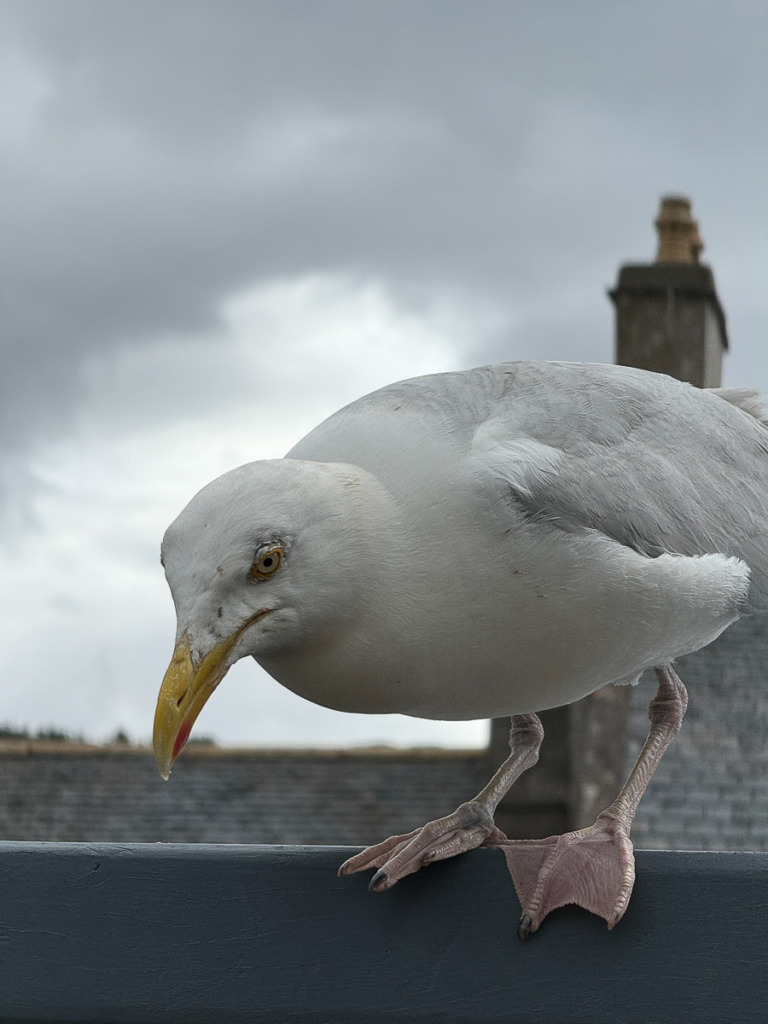
The closer you are to your subject and the farther away the background is, the stronger the blur will appear.
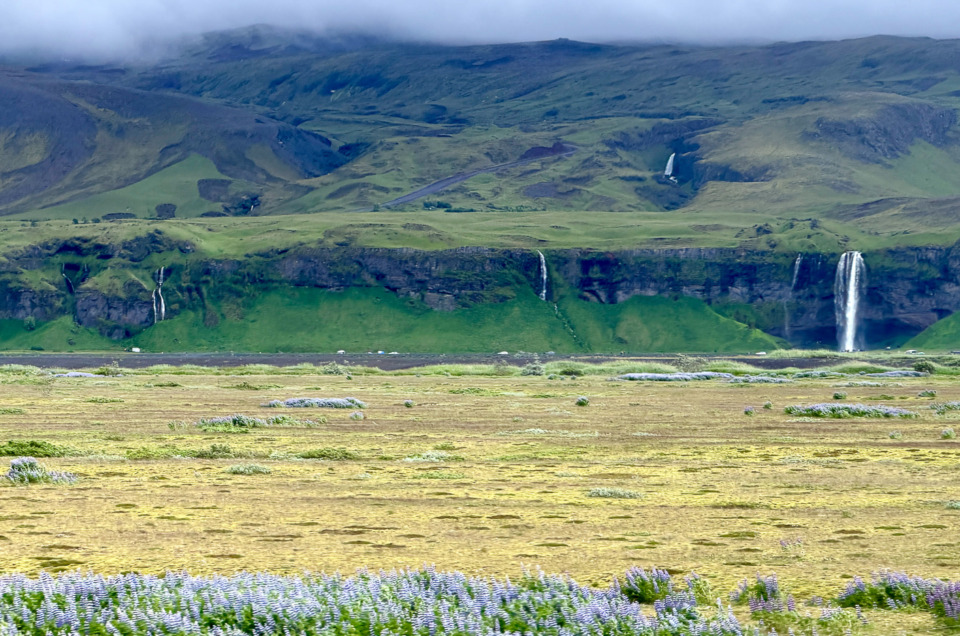
I use this trick constantly when photographing flowers, food, and travel details because it works even when Portrait Mode isn’t available… Or when a European Herring Gull thinks my lunch looks like his! 😎
A Quick Tip Before You Go
When you’re learning a new photography technique, don’t worry about creating a masterpiece.
Instead, spend a few minutes experimenting.
Photograph a flower in your yard. Take a picture of your morning coffee. Photograph your dog, your grandchild, or a favorite travel souvenir.
The goal isn’t perfection.
The goal is to discover what happens when you change the distance between your subject and the background and start using blur intentionally.
Once you see the difference, you’ll start noticing opportunities for beautiful background blur everywhere.
Now It’s Your Turn
This week, challenge yourself to create background blur in at least three iPhone photos.
Try Portrait Mode.
Move closer to your subject.
Experiment with photographing a flower, a pet, a favorite meal, or a family member.
The goal isn’t perfection. It’s learning how a simple blur can draw attention to your subject and make your photos more powerful.
And if you’d like to discover even more hidden iPhone camera features, editing tools, and creative techniques, take a look at my new iPhone Photography Made Easy training program.
Inside, I’ll show you simple settings, practical shooting tips, and easy-to-follow lessons designed to help you take better photos with the iPhone already in your pocket.
You might also like